
 Bookmark
This dreamy Biscoff Cheesecake is the perfect nobake dessert when you want something impressive but easy. With just five simple ingredients and no complicated steps, it’s an ideal treat for beginners or anyone short on time. The creamy texture and rich Biscoff flavor always impress my family and friends, and I love that it can be prepared ahead of time for stress-free entertaining.
I first made this cheesecake for a work party and won the Bake Off with it! Since then it’s become my go to dessert every time I need something quick but show-stopping
Ingredients
- Biscoff biscuits: These form the crunchy base. Choose fresh packets for best crumb texture
- Unsalted butter: Melts smoothly to bind the biscuit base without overpowering flavor
- Double cream: Provides the rich whipped layer. Keep chilled to whip to perfect stiffness
- Full fat cream cheese: Use Philadelphia or a similar brand for smooth easy mixing
- Biscoff spread: Adds signature flavor and sweetness. Warmed slightly for topping too
Instructions
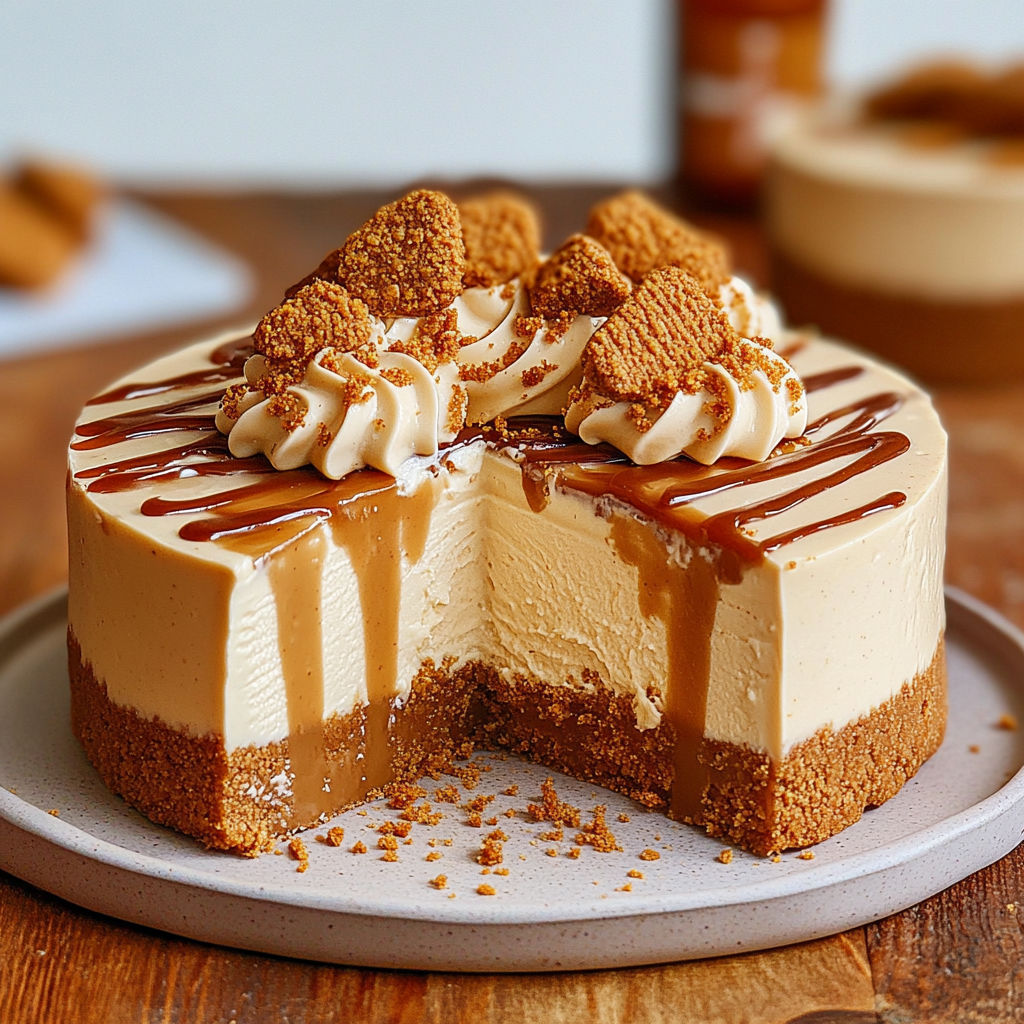
- Make the base:
- Mix crushed Biscoff biscuits with melted butter until combined well. Press this mixture firmly into a springform or removable base tin then chill in the fridge to set the base.
- Prepare the filling:
- Whip the cream cheese double cream and Biscoff spread together until thick and fluffy. This filling should hold its shape almost like ice cream. Spread evenly over the chilled biscuit base and refrigerate to let it firm up.
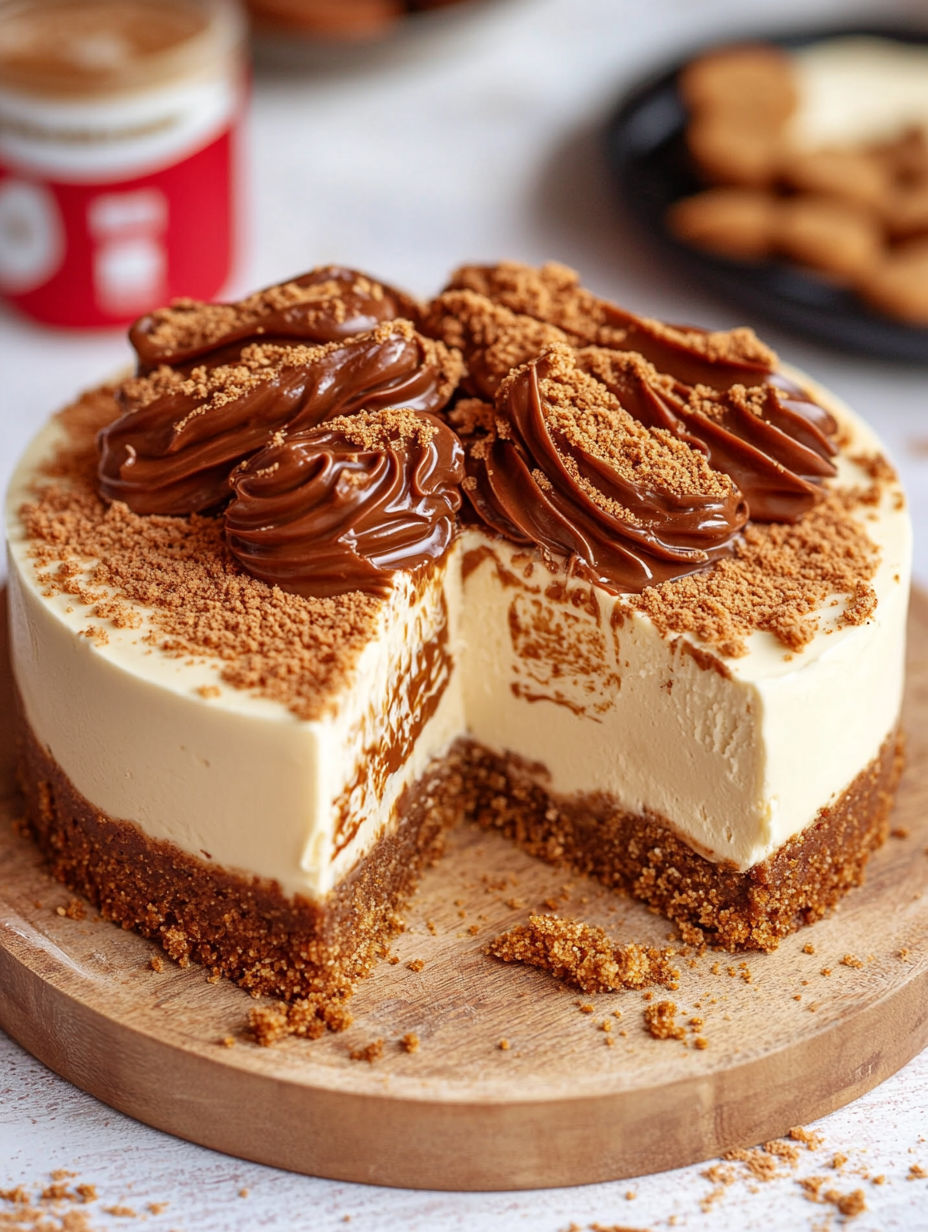
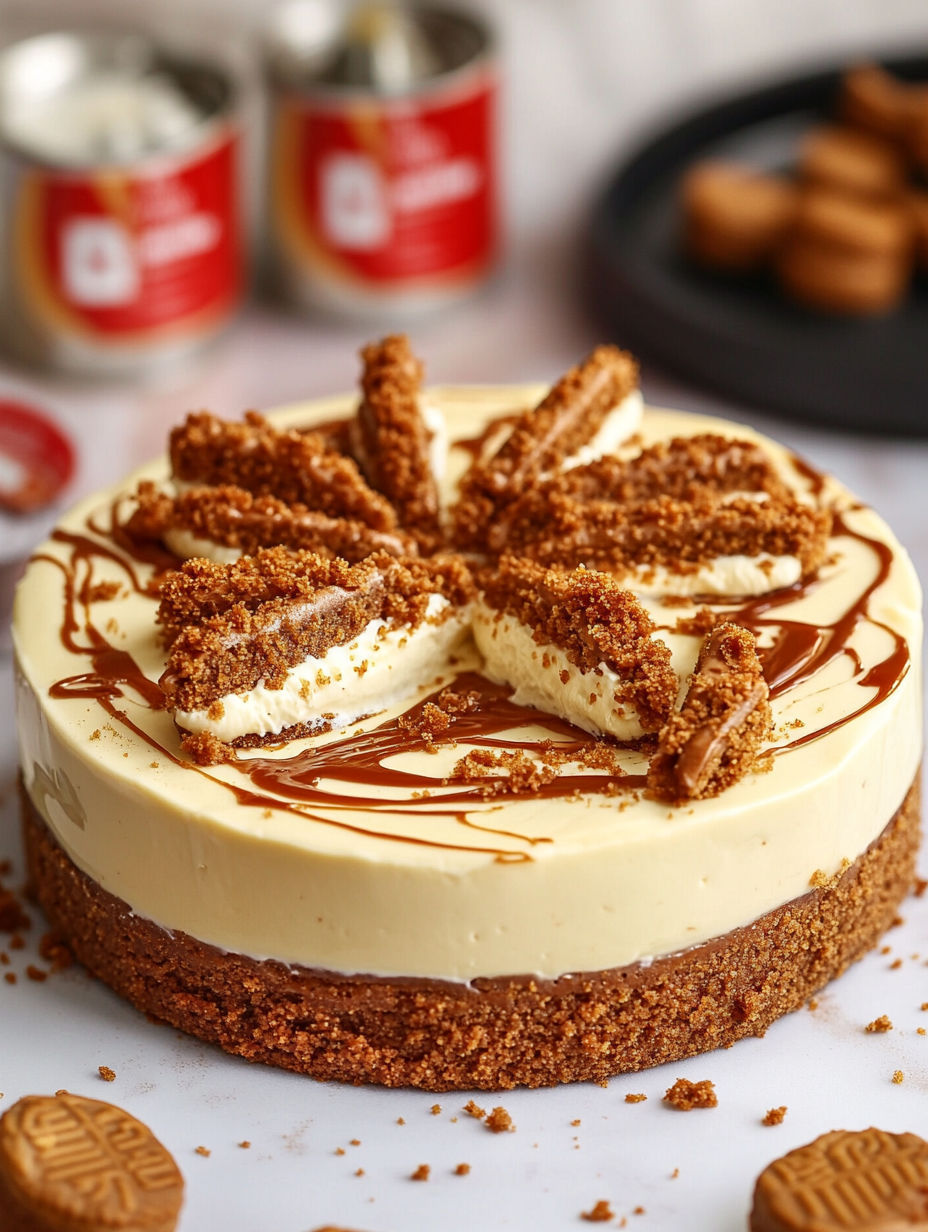
- Add the topping:
- Melt some extra Biscoff spread gently until pourable but not hot. Pour over the chilled cheesecake and smooth out the surface. Sprinkle remaining crushed Biscoff biscuits on top to finish.
My favorite part is the creamy Biscoff spread layer that ties all the textures together with its caramelized cinnamon notes. One holiday I brought this cheesecake to a family gathering and it disappeared so quickly that I had to promise to bring another the following week.
Storage tips
Keep the cheesecake chilled in its tin covered loosely with cling film or a plate to avoid fridge odors). It will keep well for up to three days once made. For longer storage freeze the undecorated cheesecake (without the topping) in the tin and defrost slowly in the fridge before decorating.
Ingredient substitutions
If you cannot find Biscoff biscuits you can use speculoos or ginger snaps as alternatives though the flavor will vary slightly. For cream cheese any full fat soft cheese will work but avoid low fat or whipped versions for best texture.
Serving suggestions
Slice and serve chilled with fresh berries or a drizzle of chocolate sauce for an added touch. It also pairs beautifully with a strong cup of coffee or chai tea thanks to the spiced Biscoff notes.
This no bake Biscoff Cheesecake is easy to make and perfect for entertaining. Chill well before serving for clean slices.
Common Questions About the Recipe
- → What ingredients create the base layer?
Crushed Biscoff biscuits combined with melted unsalted butter form a firm and flavorful base.
- → How do I ensure the cream whips correctly?
Use chilled double cream straight from the fridge and whip until it holds shape like soft ice cream texture.
- → Can this be made ahead of time?
Yes, the cheesecake can be refrigerated for up to three days, and the base should chill for best texture.
- → Is freezing possible for longer storage?
Undecorated cheesecake can be frozen in the tin; thaw fully in the fridge before topping and serving.
- → How is the topping applied?
Gently warm the Biscoff spread until pourable, then smooth it over the chilled cheesecake before adding biscuit crumbles.