
 Bookmark
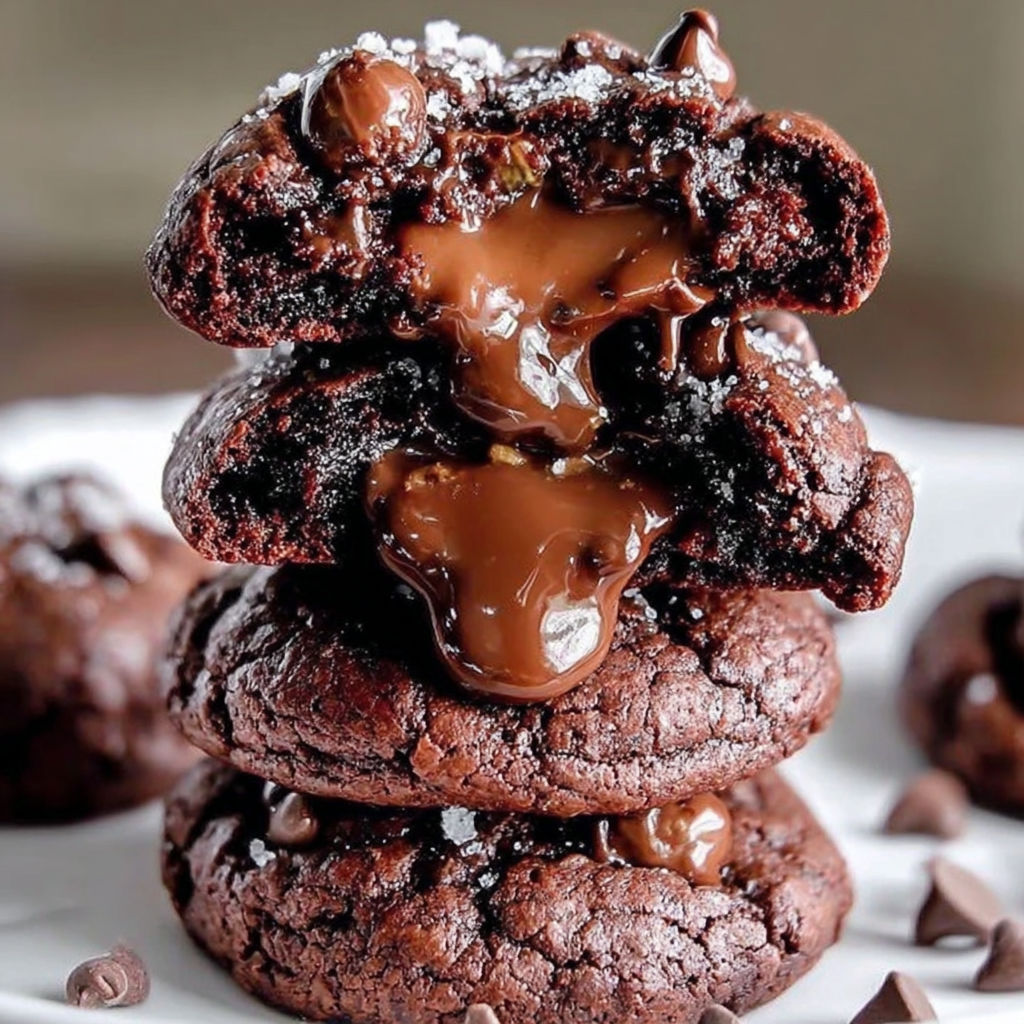
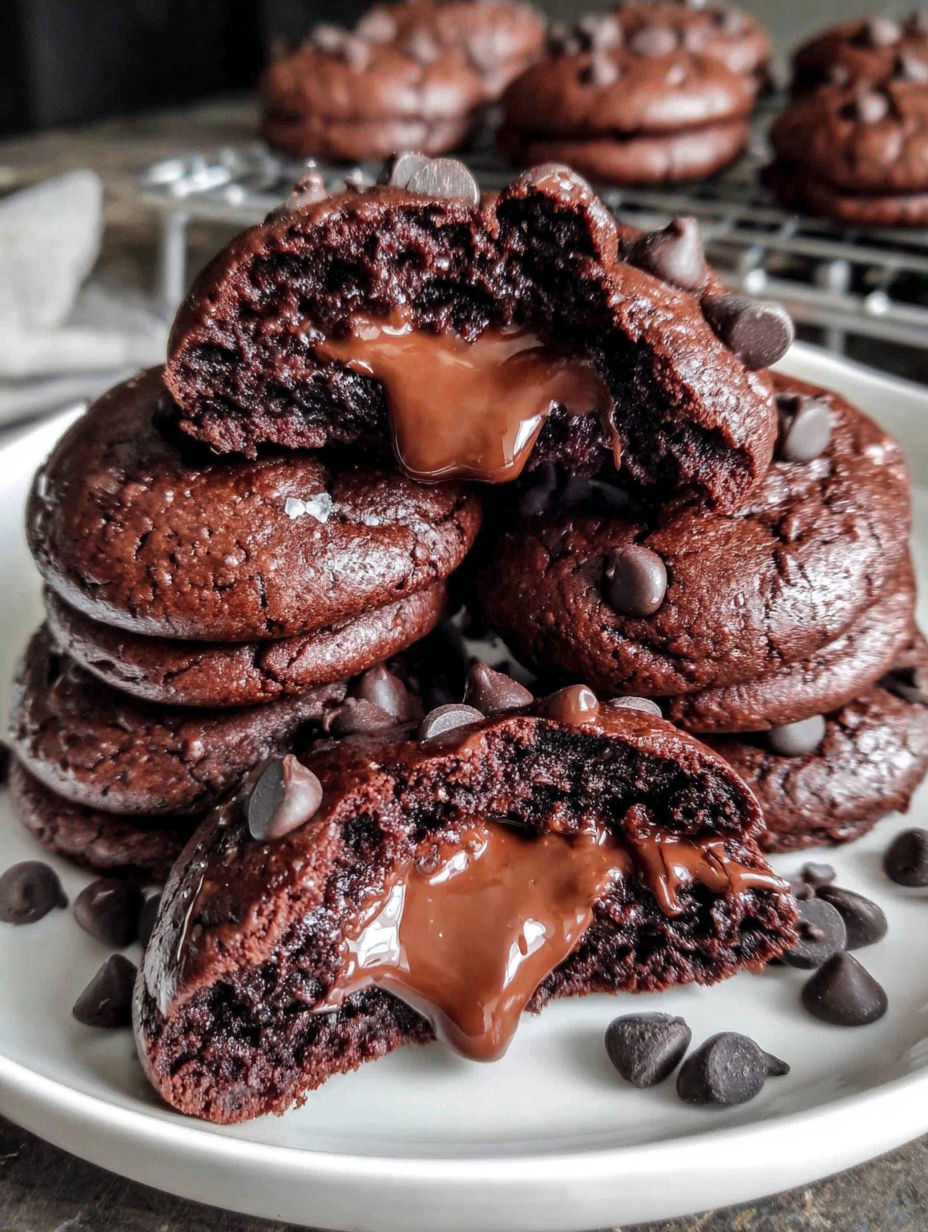
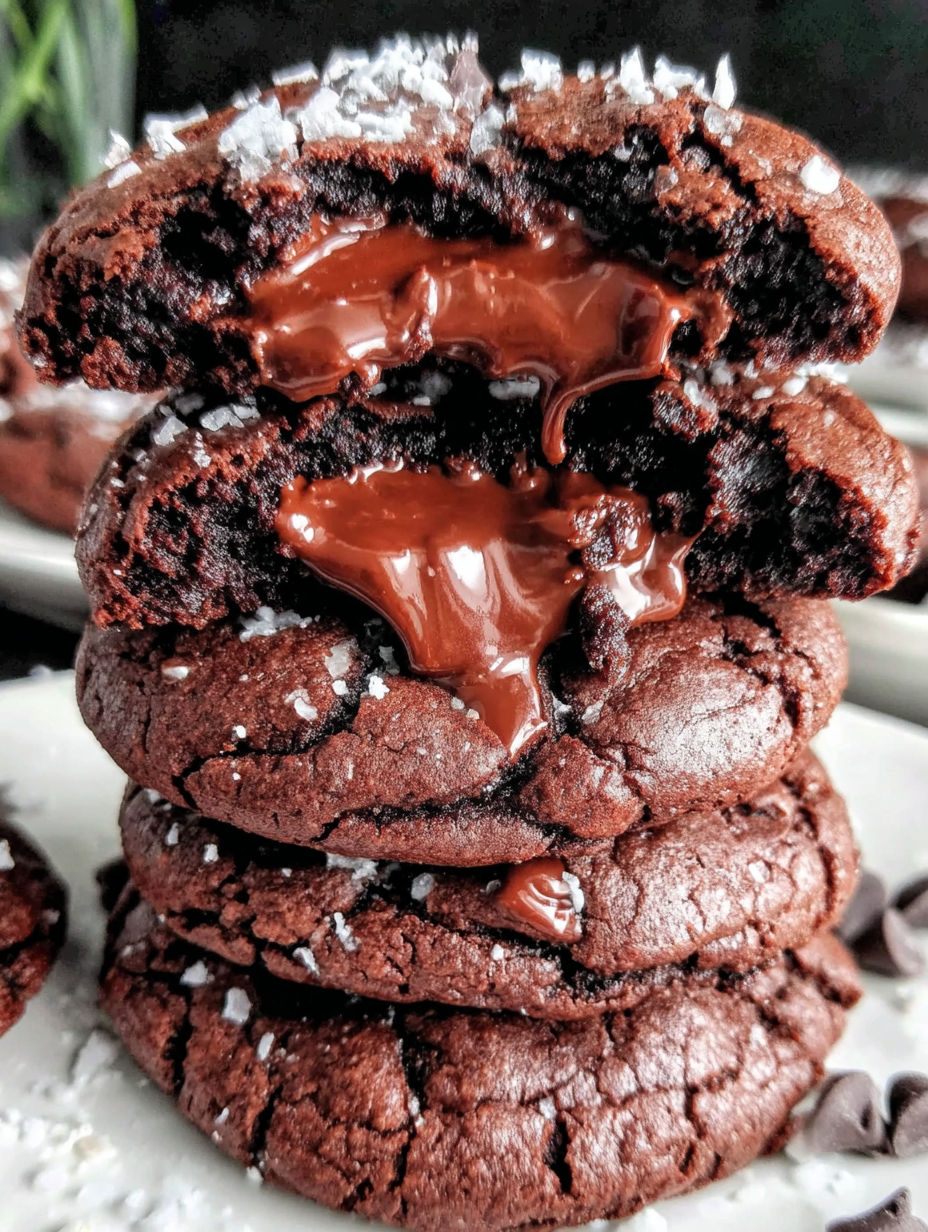
Chocolate Lava Brownie Cookies bring together a crispy exterior with a rich, fudgy brownie interior and a molten chocolate center that oozes with every bite. This recipe balances simple pantry ingredients to create an indulgent treat perfect for chocolate lovers who enjoy a bit of surprise in their cookies. Whether you savor them warm for the full lava effect or cooled for a chewy delight, these cookies never disappoint.
I first baked these for a girls’ movie night and was amazed when the entire tray disappeared before the film even started. Now they are the most requested treat at family get-togethers, always bringing smiles and chocolatey joy.
Ingredients
- Unsalted butter: gives richness and ensures a soft center choose high-quality butter for best flavor
- Semi sweet chocolate chips: melt into a lush base look for chips that list cocoa butter as a main ingredient
- Granulated sugar: provides classic cookie sweetness
- Brown sugar: adds moisture and a subtle caramel note use fresh and tightly packed brown sugar
- Large eggs: bind everything and help with that chewy finish
- Vanilla extract: rounds out the chocolate flavors pure vanilla is best if you have it
- All purpose flour: creates structure spoon and level the flour for accuracy
- Cocoa powder: deepens the chocolate flavor Dutch process cocoa will be richer but any unsweetened cocoa works
- Baking powder: lends lift so the cookies puff just right double check it is fresh
- Salt: sharpens flavor and balances the sweetness
- Additional chocolate chips: tucked inside create the lava center use a brand with bold flavor
Instructions
- Prepare the Oven and Sheet:
- Set your oven to 350 degrees Fahrenheit and line a sturdy baking sheet with parchment. This prevents any sticking and makes clean up a breeze
- Melt Butter and Chocolate:
- Place butter and chocolate chips in a heat safe bowl. Microwave in short bursts or set over a pot of barely simmering water. Stir until smooth then let cool so the eggs do not scramble
- Combine Wet Ingredients:
- Whisk together granulated sugar brown sugar eggs and vanilla in a large bowl until well combined and glossy. Mixing thoroughly means a shiny cookie top
- Mix in Chocolate:
- Pour the cooled chocolate mixture over your wet ingredients and stir until everything is just blended. Gentle mixing keeps the brownies tender
- Add Dry Ingredients:
- Sift in flour cocoa powder baking powder and salt. Sift to remove lumps then fold carefully until just no streaks remain
- Chill the Dough:
- Set the bowl in the fridge for about fifteen minutes. This gives the dough structure and helps prevent spreading
- Shape and Fill:
- Scoop out mounds of dough and press extra chocolate chips into the center of each before sealing them up. Arrange well spaced on your baking sheet
- Bake Cookies:
- Pop them in the oven for ten to twelve minutes. Look for glossy surfaces and cracks on top. Do not overbake or you will lose the lava effect
- Cool and Enjoy:
- Let the cookies sit on the baking sheet for five minutes after removing from the oven so they finish setting. Move them gently to a wire rack so the bottoms do not steam
Lava cookies became my family’s ultimate winter treat. I remember making these with my niece and watching her eyes widen in amazement at her first molten center. It was a magic moment that turned baking into a cherished family ritual.
Storing Chocolate Lava Brownie Cookies
Keep these cookies at room temperature in an airtight container for up to three days. To revive the molten centers after a day or two microwave a cookie for about ten seconds. These also freeze well just wrap each in plastic wrap and store in an airtight bag for as long as three months.
Ingredient Swaps for Custom Cookies
You can swap semi sweet chocolate for bittersweet if you want deeper flavor. Using dark chocolate chunks instead of chips in the center also works beautifully for an intense lava surprise. For a twist try white chocolate or use gluten free flour blends to suit dietary needs.
How to Serve Lava Brownie Cookies
These cookies pair wonderfully with a scoop of vanilla or coffee ice cream. For a special touch, dust them with cocoa powder or sprinkle a little sea salt before serving. They also make memorable homemade gifts stacked neatly in a bakery box tied with a ribbon.
Serve warm for the full lava effect, or cool them for a chewier bite that still keeps rich chocolate flavor.
Common Questions About the Recipe
- → How is the molten center created?
Extra chocolate chips are pressed into the center of each dough ball before baking, which melt to form a gooey, molten core during cooking.
- → Can milk or dark chocolate chips be used instead?
Yes, milk or dark chocolate chips can substitute the semi-sweet variety to adjust sweetness and flavor intensity.
- → Why is the dough chilled before baking?
Chilling firms the dough, preventing excessive spreading and ensuring a thick, fudgy texture with crispy edges.
- → How do I know when the cookies are done baking?
Cookies are ready when the tops appear glossy with cracks, but the centers remain soft to preserve the molten texture.
- → What is the best way to store leftover cookies?
Store cooled cookies in an airtight container at room temperature for up to three days or freeze them for longer preservation.
- → Can the dough be prepared in advance?
Yes, the dough can be refrigerated for up to 24 hours before baking for convenience and flavor development.