
 Bookmark
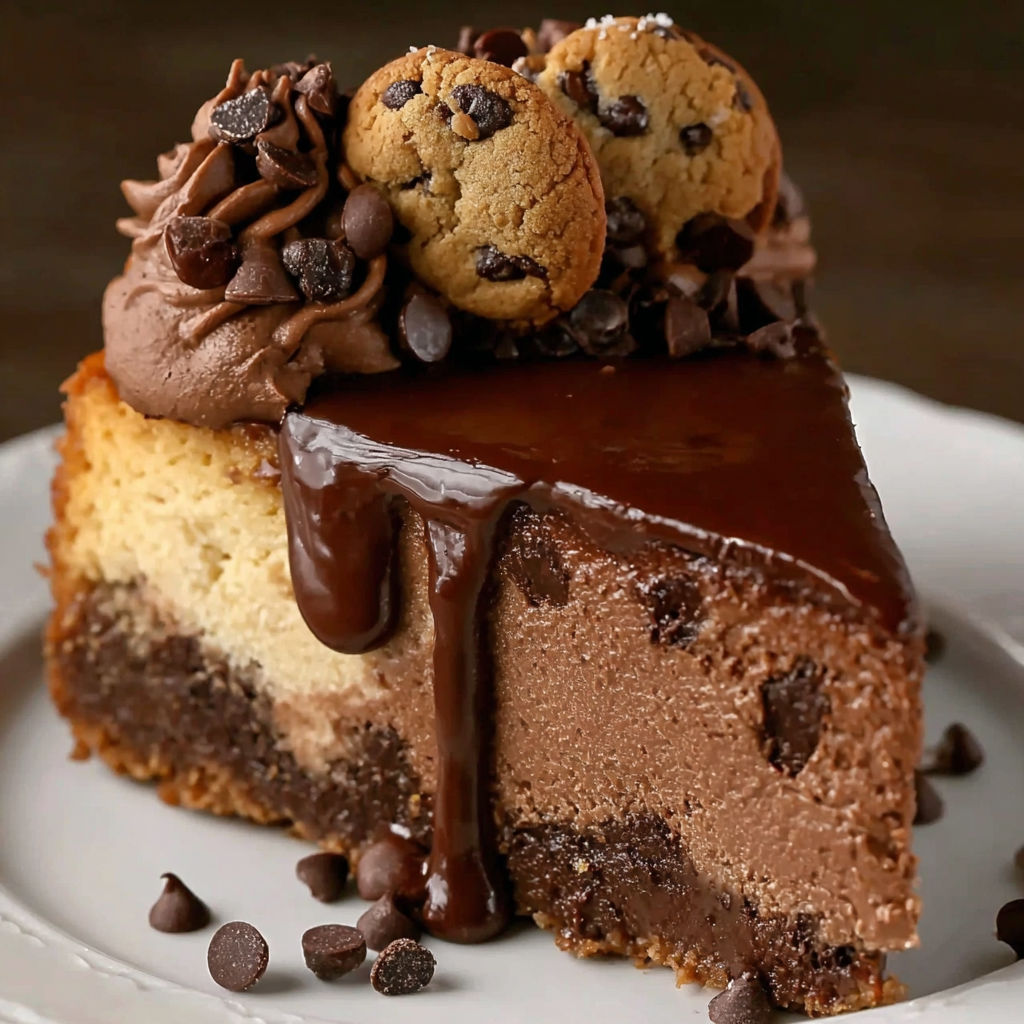
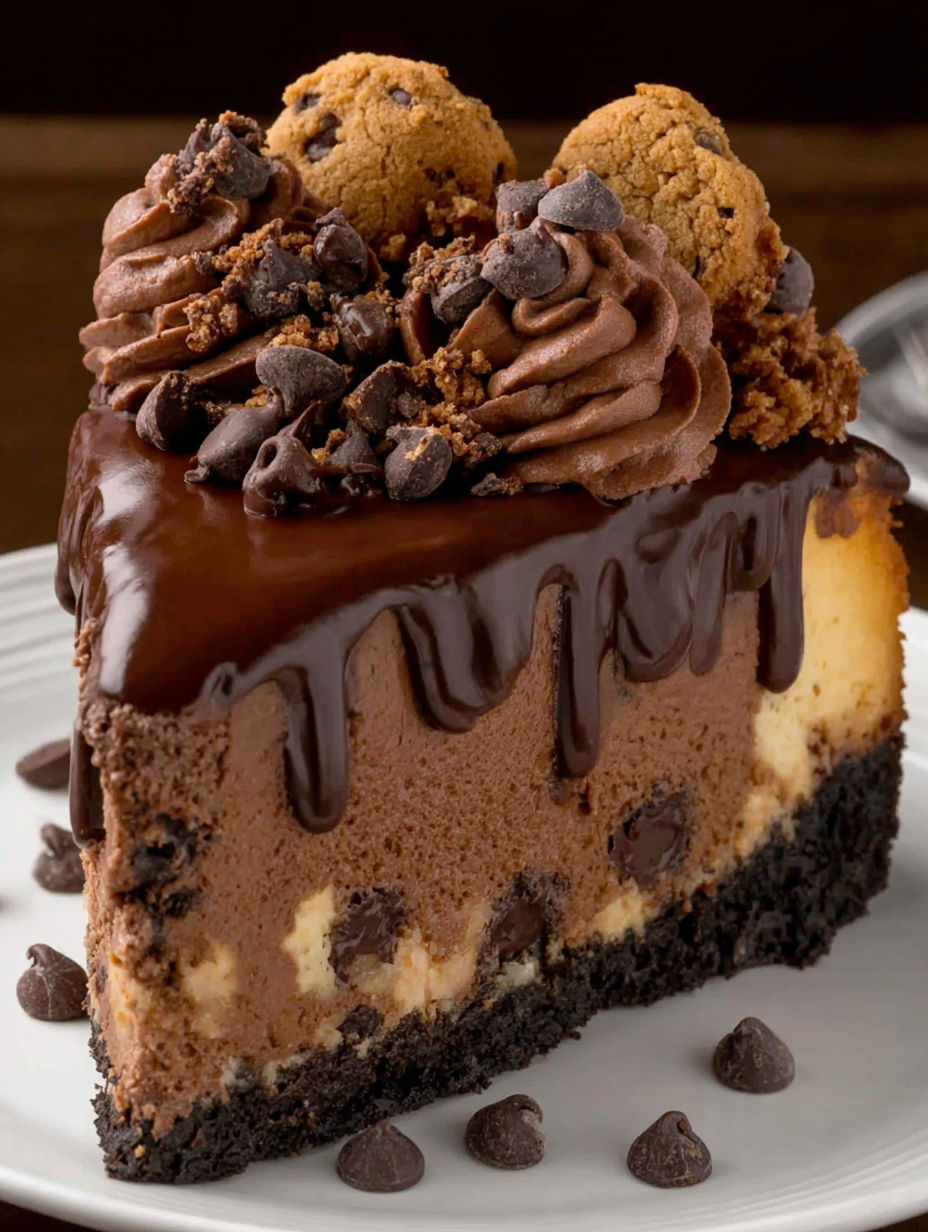
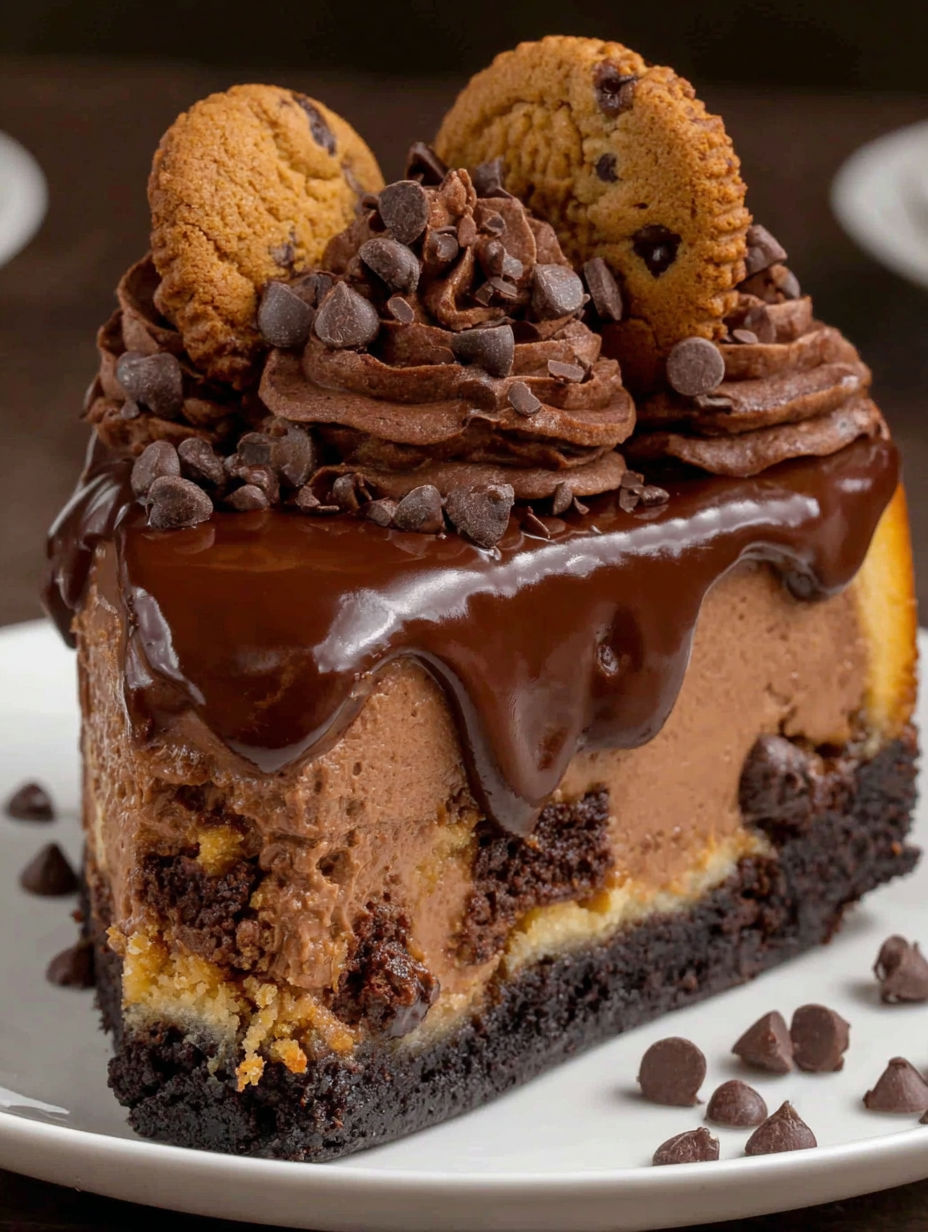
This dessert brings together a chewy, golden baked chocolate chip cookie base with a luscious, smooth chocolate cheesecake filling filled with cookie chunks. The nobake filling contrasts beautifully with the slightly crisp cookie bottom creating a delightful texture experience. Chocolate whipped cream swirls and cookie pieces around the edges complete an elegant presentation that feels special but is surprisingly easy to make. With about 36 minutes of active prep and some chilling time this cheesecake is a perfect treat to satisfy chocolate cravings and impress guests.
I first made this cheesecake for my daughter's birthday because she couldn't decide between cookies or cheesecake. Since then it has become a family favorite for celebrations with everyone asking for slices loaded with extra cookie pieces.
Ingredients
- Unsalted butter: at room temperature ensures smooth creaming for a tender yet chewy cookie base
- Light brown sugar: adds moisture and a subtle caramel flavor enriching the cookie crust
- Semisweet chocolate chips: scattered in the dough create melty chocolate pockets in every bite
- Cream cheese: softened to room temperature blends smoothly to create the creamy cheesecake filling
- Natural unsweetened cocoa powder: provides deep chocolate flavor without extra sweetness
- Heavy whipping cream: with a high fat content helps achieve a stable and fluffy nobake filling and whipped toppings
- Powdered sugar: dissolves completely in the whipped cream for a silky texture
- Additional chocolate chip cookies: chopped into the filling add texture and whole cookies decorate the edges
Instructions
- Cookie Base Preparation:
- Preheat your oven to 176 degrees Celsius. Line a 9inch springform pan with parchment paper covering the bottom completely. Grease the sides well to prevent sticking and to enable easy removal later.
- Creaming the Butter and Sugars:
- In a large bowl beat the room temperature unsalted butter together with light brown sugar and granulated sugar on medium speed for 3 to 4 minutes. This process incorporates air lightens the color and creates a soft yet chewy texture in the cookie base.
- Adding Wet Ingredients:
- Add the egg and vanilla extract to the creamed butter mixture. Mix just until fully combined avoiding overmixing which can create a tougher cookie texture.
- Combining Dry Ingredients:
- In a separate bowl whisk together all purpose flour baking soda baking powder and salt evenly. This ensures the leavening agents and salt are dispersed uniformly preventing uneven flavor or texture.
- Creating the Cookie Dough:
- Gradually add the dry ingredients to the wet mixture stirring gently only until combined. Overmixing develops gluten resulting in a dense tough cookie. Fold in the semisweet chocolate chips carefully to distribute them evenly without breaking them up.
- Baking the Cookie Base:
- Press the cookie dough evenly into the prepared pan slightly building up the edges to hold the filling later. Bake for 16 to 18 minutes until the edges are golden but the center remains soft. Remove and let cool completely in the pan before proceeding.
- Preparing the Cream Cheese Mixture:
- Beat cream cheese in a clean bowl until smooth and lump free. Add powdered sugar and cocoa powder mixing thoroughly for an evenly distributed chocolate flavor. Stir in vanilla extract and melted semisweet chocolate until fully combined.
- Whipping the Cream:
- Chill your mixing bowl and beaters for best results. Whip the heavy cream together with powdered sugar until stiff peaks form. This means the cream holds firm shapes when the beaters are lifted and ensures the filling is light and airy.
- Creating the Filling:
- Gently fold one third of the whipped cream into the chocolate cream cheese mixture to lighten it. Then carefully fold in the remaining whipped cream to keep the mixture fluffy. Finally fold in the chopped cookie pieces with minimal stirring so they retain some texture inside.
- Assembling the Cheesecake:
- Arrange whole chocolate chip cookies evenly around the inside edge of the springform pan pressing gently to keep them secure. Pour the cheesecake filling onto the cooled cookie base and spread it smoothly all the way to the edges.
- Chilling the Dessert:
- Place the assembled cheesecake in the refrigerator for at least 5 to 6 hours or overnight. This step allows the cheesecake to set properly and hold its shape when sliced.
- Creating Chocolate Whipped Cream:
- Shortly before serving whip cold heavy cream with powdered sugar cocoa powder and vanilla extract to stiff peaks. This chocolate whipped cream will decorate the edges for a professional look.
- Finishing Touches:
- Use a star piping tip to pipe swirls of chocolate whipped cream around the edges of the chilled cheesecake. Sprinkle mini chocolate chips and additional cookie pieces on top so they stick to the cream. Return the cheesecake to the fridge until ready to serve.
One of my favorite touches is the chopped cookies folded inside the filling. At my first family gathering with this cheesecake my chocolate loving cousin declared it the best dessert he had ever tasted anywhere.
Storage Tips
Because it contains dairy always keep this cheesecake refrigerated. Store it in the springform pan covered tightly with plastic wrap or a lid to prevent it from drying out or absorbing other fridge smells. Leftovers can be transferred to an airtight container and will stay fresh for up to five days. For best appearance serve fresh toppings just before serving.
Ingredient Substitutions
To make this dessert dairy free use vegan cream cheese and substitute heavy cream with coconut cream. Brown sugar can be swapped out for coconut sugar for a slightly different flavor note. If semisweet chocolate chips are unavailable use bittersweet or milk chocolate chips; sweetness and intensity will vary slightly yet still work well.
Serving Suggestions
Serve slices on chilled plates lightly dusted with cocoa powder for an elegant presentation. A drizzle of warm caramel sauce pairs uniquely with the cold creamy cheesecake. For an elevated treat try it alongside vanilla bean ice cream or a rich espresso which balances the sweetness perfectly.
This chocolate cookie bottom cheesecake is show stopping yet simple to make; prepare most of it ahead for stress free entertaining and add final toppings just before serving.
Common Questions About the Recipe
- → Can this dessert be prepared in advance?
Yes, the cookie base can be baked up to three days ahead and stored at room temperature. After assembling, chill the dessert for 5-6 hours or overnight, adding toppings just before serving for best freshness.
- → How do I keep the cookie base chewy, not hard?
Remove the cookie base from the oven once the edges are golden but the center is still soft. Avoid overbaking to maintain a tender, chewy texture.
- → Is freezing this dessert a good option?
Yes, freeze it without the whipped cream and cookie decorations, tightly wrapped. Thaw overnight in the refrigerator and add toppings before serving for optimal texture.
- → Why is powdered sugar used in the whipped cream?
Powdered sugar sweetens and stabilizes the whipped cream, helping it hold its shape and preventing weeping during decoration.
- → What can I use if I don’t have a springform pan?
A deep 9-inch cake pan lined with parchment paper works well, with parchment overlapping the edges for easy removal. A pie dish is possible but less neat for serving.
- → How to tell when the cheesecake filling is set properly?
The filling should be firm but slightly jiggly in the center after chilling 5-6 hours. Overnight refrigeration yields the best creamy texture.